
Embrace sustainable crafting with nature’s ingredients: Discover onion’s full potential
June 30, 2024
1. Unlock Nature’s Palette: The Eco-Friendly Benefits of Onion Dye
Onion skins are a natural, biodegradable material making them a perfect environmentally friendly art material; helping to reduce waste and promoting sustainable practices like natural dyeing, collage, prints and patterns making.
Being a chemical-free material is better for our health too, making it the perfect eco-friendly passtime.

2. Transforming Skins to Hues: A Step-by-Step Guide to Natural Onion Dyeing
Materials Needed:
– Onion skins: Collect the dry outer skins of yellow or red onions. The more skins you have, the richer the color.
– Water: Enough to cover the onion skins in a pot.
– Pot: For boiling the skins.
– Strainer: To remove the onion skins from the dye.
– Mordant (optional): Such as alum or vinegar, to help the dye adhere to the fabric.
– Fabric or Material to Dye: Natural fibers like cotton, linen, wool, or silk work best.
– Gloves: To protect your hands from staining.
– Stirring Spoon: For stirring the dye bath.
Step-by-Step Guide:
After choosing a fabric and having collected at least two cups of onion skins you are ready to start dying:
1. Prepare the fabric:
Wash the fabric to remove any sizing or finishes that may interfere with the dye absorption, then soak the fabric in a solution of water and mordant for an hour to improve dye uptake. Rinse and set aside.
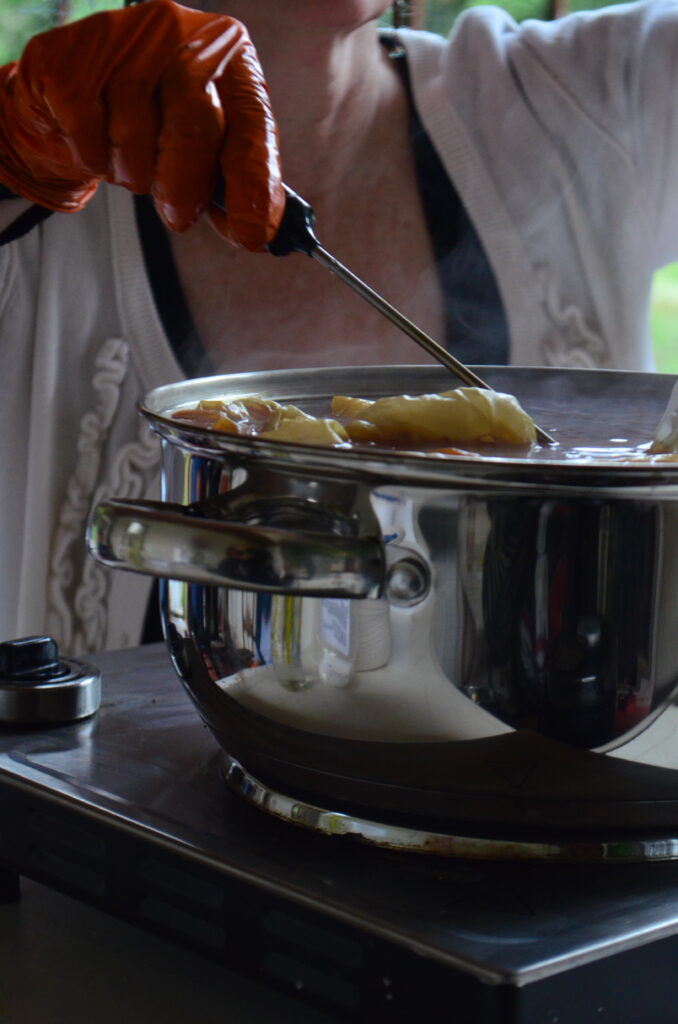
2. Make the Dye Bath:
Fill the pot with water and bring it to a boil, as soon as it starts boiling add the collected onion skins to the water and reduce the heat and simmer the onion skins for about 30-60 minutes, or until the water turns a rich color. The longer you simmer, the more intense the dye will be.
3. Strain the Dye:
After the desired color is achieved, remove the pot from heat and let it cool for about 5 to 10 minutes, then strain out the onion skins using a strainer, don’t forget to reserve the liquid dye!
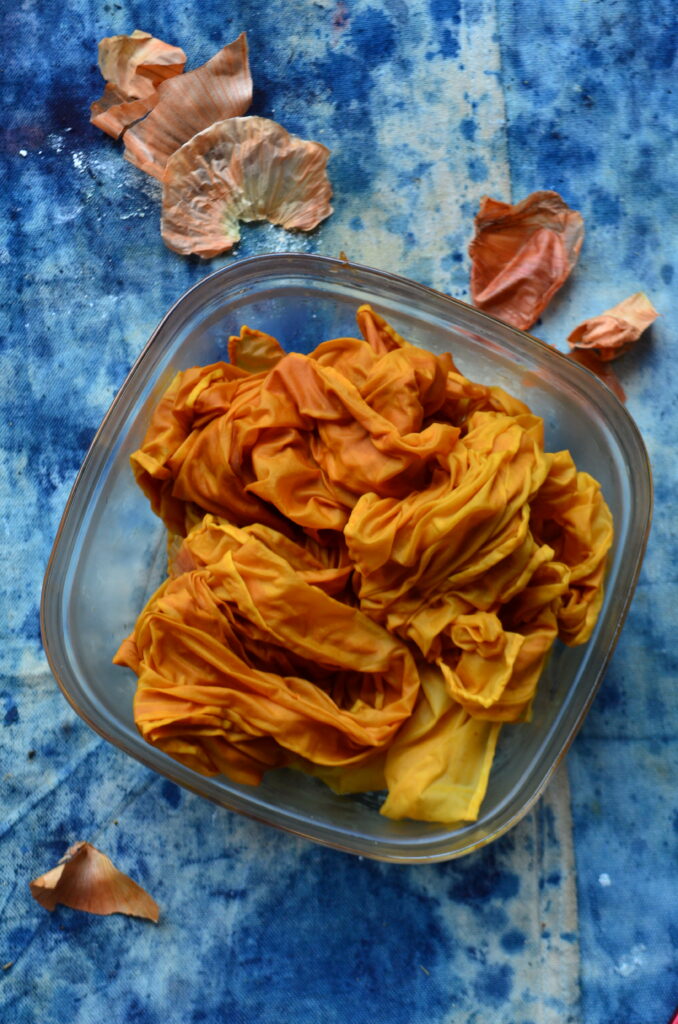
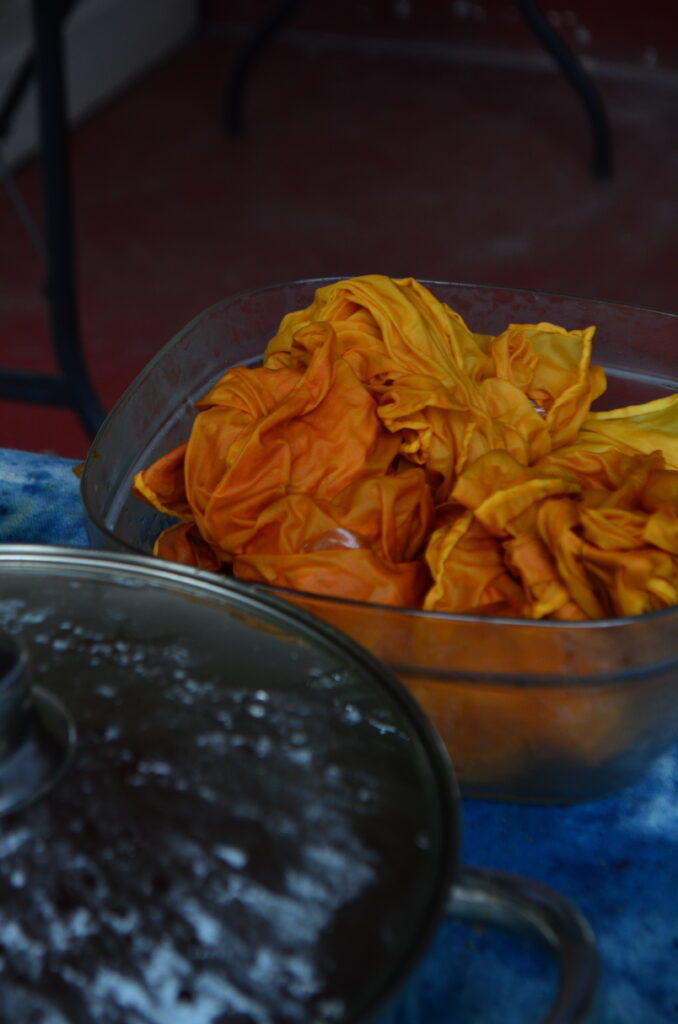
4. Dye the Fabric:
Place the pre-washed fabric into the dye bath making sure the fabric is fully submerged and can move freely. Return the pot to a gentle simmer and stir occasionally leaving the fabric in the dye bath for the amount of time desired keeping in mind the longer it soaks the deeper color will be.
5. Rinse and Dry:
Remove the fabric from the dye bath and rinse it under cold water until the water runs clear, this helps to remove any excess dye and lastly hand the fabric to dry in a shaded area to prevent fading from direct sunlight.
*To help set the dye you can iron the fabric as soon as it dries or rinse it in a solution of vinegar and water before the final rinse
3. Learn the art of Natural Dying here at La Belle Eco:
Eco-conscious craft projects such as onion dyeing can help you relax and connect yourself deeper with nature.
Here at La Belle Eco some lucky guests had the chance to discover the beauty of natural dyeing at Caroline Harper’s workshop at the wonderfully successful ‘Indigo retreat’! Make sure you don’t miss out on next year and take advantage of early bird prices to ensure your slot on next years retreat.
Sign up to our newsletter to get an early bird booking discount and don’t miss out on your chance to learn all the secrets of indigo and practice the art of natural dying and get creative with nature’s bounty!
Comments will load here
Be the first to comment